Introduction
There’s something deeply comforting about homemade bread—but many people think it requires yeast, hours of rising time, and complicated techniques. The truth is, some of the best traditional breads were created during times when ingredients were scarce. This easy no-yeast bread recipe proves you can bake a warm, golden loaf using just a few basic pantry staples.
This humble loaf has roots in Depression-era kitchens, when families needed creative ways to stretch ingredients and still put nourishing food on the table. Instead of yeast, this recipe uses baking powder to create lift, meaning the dough can go straight from bowl to oven—no kneading or waiting required.
Whether you’re searching for an easy bread recipe, quick homemade bread for dinner, or a budget-friendly meal prep staple, this simple loaf delivers incredible flavor with minimal effort. In less than an hour, you can enjoy soft, fluffy bread with a lightly crisp crust, perfect for sandwiches, soups, or breakfast toast.
Why You’ll Love This Recipe
- No yeast required – perfect when you’re out of yeast or short on time
- Ready in about 45 minutes – from mixing bowl to fresh bread
- Made with pantry staples – flour, baking powder, salt, fat, and milk
- Beginner-friendly recipe – no kneading or bread experience needed
- Budget-friendly comfort food – great for stretching grocery budgets
Ingredients
| Ingredient | Amount |
|---|---|
| All-purpose flour | 3 cups (360g) |
| Baking powder | 4 tsp |
| Salt | 1 tsp |
| Fat (lard, butter, or oil) | 3 tbsp, melted or softened |
| Milk (dairy or plant-based) | 1½ cups (360ml) |
Instructions / Method
Step 1: Prep & Preheat
Preheat oven to 375°F (190°C).
Grease a 9×5-inch loaf pan with butter, lard, or non-stick spray.
Optional: Line with parchment paper for easy removal.
Step 2: Mix Dry Ingredients
In a large mixing bowl, whisk together flour, baking powder, and salt.
Ensure there are no clumps of baking powder.
Step 3: Add Wet Ingredients
Make a well in the center of the dry ingredients.
Pour in milk and melted fat (lard, butter, or oil).
Stir with a wooden spoon until just combined. Do not overmix.
The batter should be thick and slightly sticky.
Step 4: Shape & Bake
Spoon the batter into the prepared loaf pan.
Smooth the top gently with the back of a spoon.
Optional: Brush the top with melted butter or milk for extra browning.
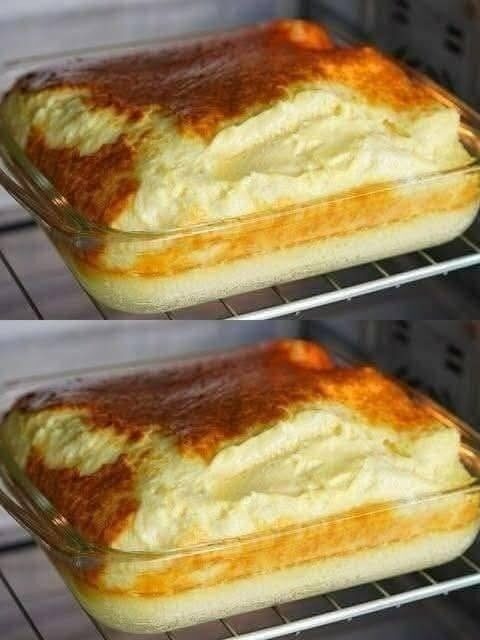
Bake for 30–35 minutes, until the top is golden brown and a toothpick inserted into the center comes out clean.
Step 5: Cool & Slice
Let the bread cool in the pan for 10 minutes.
Transfer to a wire rack to cool completely.
Slice and serve warm with butter, honey, or jam.
Is This Recipe Healthy?
This quick bread can absolutely be part of a balanced diet, especially when paired with nutritious foods.
Because it’s made with simple ingredients and contains no preservatives or additives, it can be a wholesome alternative to many store-bought breads.
To make the loaf more nutrient-dense, consider serving it with:
- Fresh vegetables
- Lean protein like eggs or chicken
- Healthy fats such as avocado or olive oil
You can also substitute whole wheat flour for part of the flour to increase fiber and improve satiety.
While it’s not specifically a high-protein meal, it works well as part of a healthy breakfast, lunch sandwich, or comforting dinner alongside soups and stews.
Calories & Nutrition (Estimated)
Per slice (based on 10 slices):
- Calories: ~170
- Carbohydrates: 26g
- Protein: 4g
- Fat: 5g
- Fiber: 1g
Nutrition will vary depending on the type of fat and milk used.
Tips for Best Results
Don’t Overmix
Mix until the flour disappears. Overmixing can develop gluten and make the bread dense.
Use Fresh Baking Powder
Baking powder is the only leavening agent here. If it’s old, the bread won’t rise well.
Preheat the Oven Fully
Quick breads depend on immediate heat to activate the baking powder.
Measure Flour Correctly
Spoon flour into the measuring cup and level it off—don’t pack it down.
Let It Rest Before Slicing
Cooling for 10 minutes helps the crumb set and prevents a gummy texture.
Variations & Substitutions
This simple bread recipe is easy to customize.
Herb Bread
Add 1 teaspoon dried rosemary or thyme.
Cheese Bread
Mix in ½ cup shredded cheddar or Parmesan.
Sweet Breakfast Bread
Add 2 tablespoons sugar and 1 teaspoon cinnamon.
Whole Wheat Version
Replace half of the flour with whole wheat flour.
Vegan Version
Use plant-based milk and vegetable oil instead of butter.
Frequently Asked Questions
Can I make this bread ahead of time?
Yes. You can bake the loaf in advance and store it in an airtight container for up to 2 days at room temperature.
Can I freeze this bread?
Yes. Wrap the loaf tightly in plastic wrap and foil and freeze for up to 3 months.
You can also freeze individual slices for quick breakfasts.
Why didn’t my bread rise?
The most common cause is expired baking powder. Always check the expiration date.
Can I make muffins instead of a loaf?
Yes. Pour the batter into a muffin tin and bake for 18–22 minutes at 375°F.
Can I use water instead of milk?
Yes. Water will work, but the bread will be slightly less rich. Adding a little extra fat can improve texture.
You May Also Like
If you enjoy simple homemade bread recipes, try these next:
- Easy 2-Ingredient Dough Bread
- Homemade Buttermilk Biscuits
- Classic Southern Cornbread
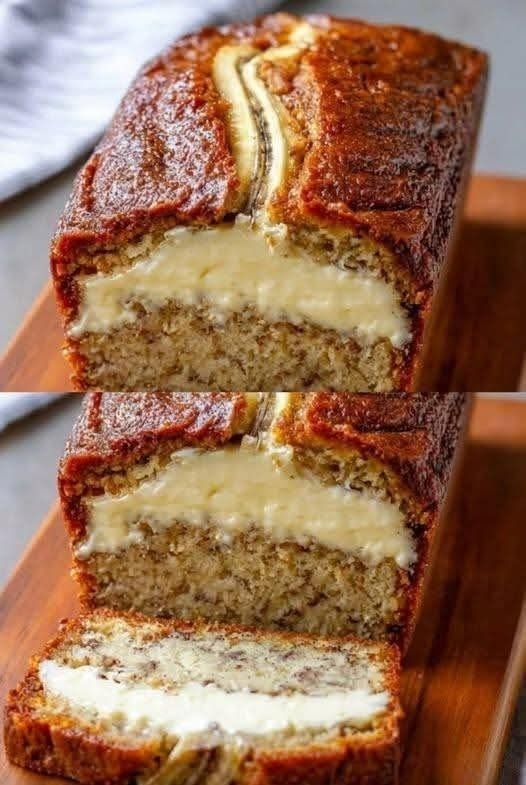
- Quick Banana Bread Recipe
- No-Knead Artisan Bread
- Easy Garlic Dinner Rolls
Final Thoughts
This no-yeast Depression-era bread reminds us that great food doesn’t require complicated ingredients or fancy equipment. With just a few pantry staples, you can bake a loaf that’s warm, comforting, and deeply satisfying.
It’s the kind of recipe that proves something powerful: sometimes the simplest foods become the most meaningful traditions.
So the next time you want fresh bread without the wait, remember this recipe—and enjoy the simple joy of baking something wonderful from almost nothing.